Jeffrey's Log
Archives | Subscribe
ATMEGA32U2 board using gEDA
Published on: March 12, 2011
Share on
Two years before I had designed a mini development board for AT90USB162. There was a small mistake in that board. It didn’t have the 1MFD capacitor connected across the UCAP (PIN 27) and ground. Because of that the board was not detected while connected via USB. Last month I thought of repairing that board and do some USB projects. I ordered samples of ATMEGA32U2 from ATMEL. Thanks ATMEL for the samples.
Today I did a small hacking on the board. I added the capacitor as needed by USB. Now the board is working fine. There came the next problem. GCC-AVR version which I had, didn’t support ATMEGA32U2. Also for loading the hex into the controller, I used the dfu-programmer. Since I had installed it from the Ubuntu repository, dfu-programmer was of older version and it also didn’t support ATMEGA32U2.
After a few Google search, I found that if you compile for AT90USB162, the hex generated is supported by ATMEGA32U2. So I wrote the C code and compiled it for AT90USB162. Next task was to make the dfu-programmer to work. The only solution was to get the latest code and compile it. Below shown is the way to compile the dfu-programmer from source
$ mkdir dfu-programmer<br />
$ svn co https://dfu-programmer.svn.sourceforge.net/svnroot/dfu-programmer/trunk/ dfu-programmer<br />
$ cd dfu-programmer/dfu-programmer<br />
$ ./bootstrap.sh<br />
$ ./configure<br />
$ make
Once installed, flashing the controller is very easy. First we have to bring the controller into USB bootloader mode. For that first press and hold the RESET button. Then press and hold the HWB button. Now release the RESET button and then release the HWB button. This will bring the controller into USB bootloader mode. Now we can issue the following instructions to flash the controller.
$ dfu-programmer atmega32u2 erase<br />
$ dfu-programmer atmega32u2 flash blink.hex<br />
$ dfu-programmer atmega32u2 reset
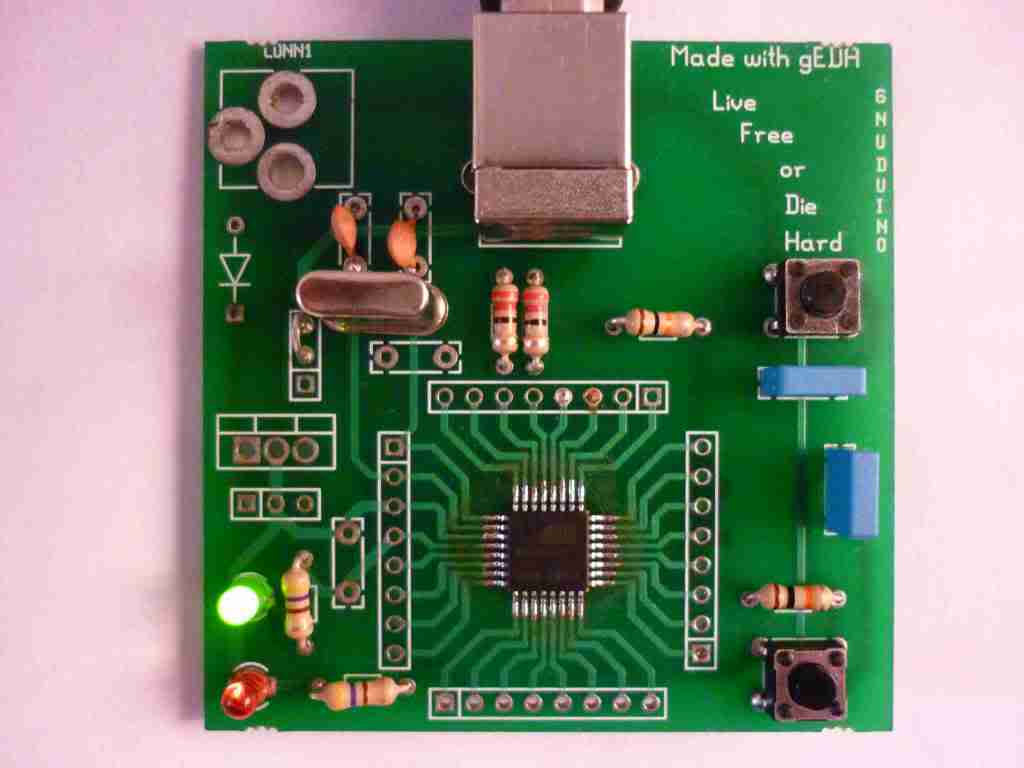
This is an Open Hardware project and I will soon post the schematic and PCB layout once adding the missing capacitor in the old design. Below shown is the snap shot of the board.

Previous Post
Hardware hack for Phoenix-MDK
Next Post
Track Every Watt(TEW)
Comments
Comments can be emailed or tweeted to me. I would like to hear them and will try to reply.